Say Hello To PioneerPi! A Franken-Player with a Raspberry Pi Heart
I had a broken Pioneer Blu-Ray Player lying around, just taking up space. Instead of tossing it, I thought it would be fun to rip out the insides and see if I could squeeze something more useful inside. The idea: keep the case, but swap out the guts for modern hardware.
Raspberry Pi Inside
And so it begins!
While the Blu-Ray Player itself was not good for much anymore, the case was solid and still looked nice alongside the TV. So I took out all of Pioneer's components, and got myself:
- A Raspberry Pi 3B - The heart of my new media box
- I'm already using Raspberry Pi 4B for Home Assistant.
- A DVD Drive from an old laptop with a Slimline Sata connector
- A Slimline Sata to USB Adapter from AliExpress
- Cable Extenders from UGreen to route everything cleanly to back and front panels
- 2x - 0,5m USB 2.0
- 1x - 0,5m HDMI
- 1x - 0,5m Ethernet
- 1x - 1,5m Micro USB (For Power)
- I’m still planning to grab a Jack Extender for audio (I only have a 2m one which is way too long), and I might add a small LCD screen where the old display used to be.
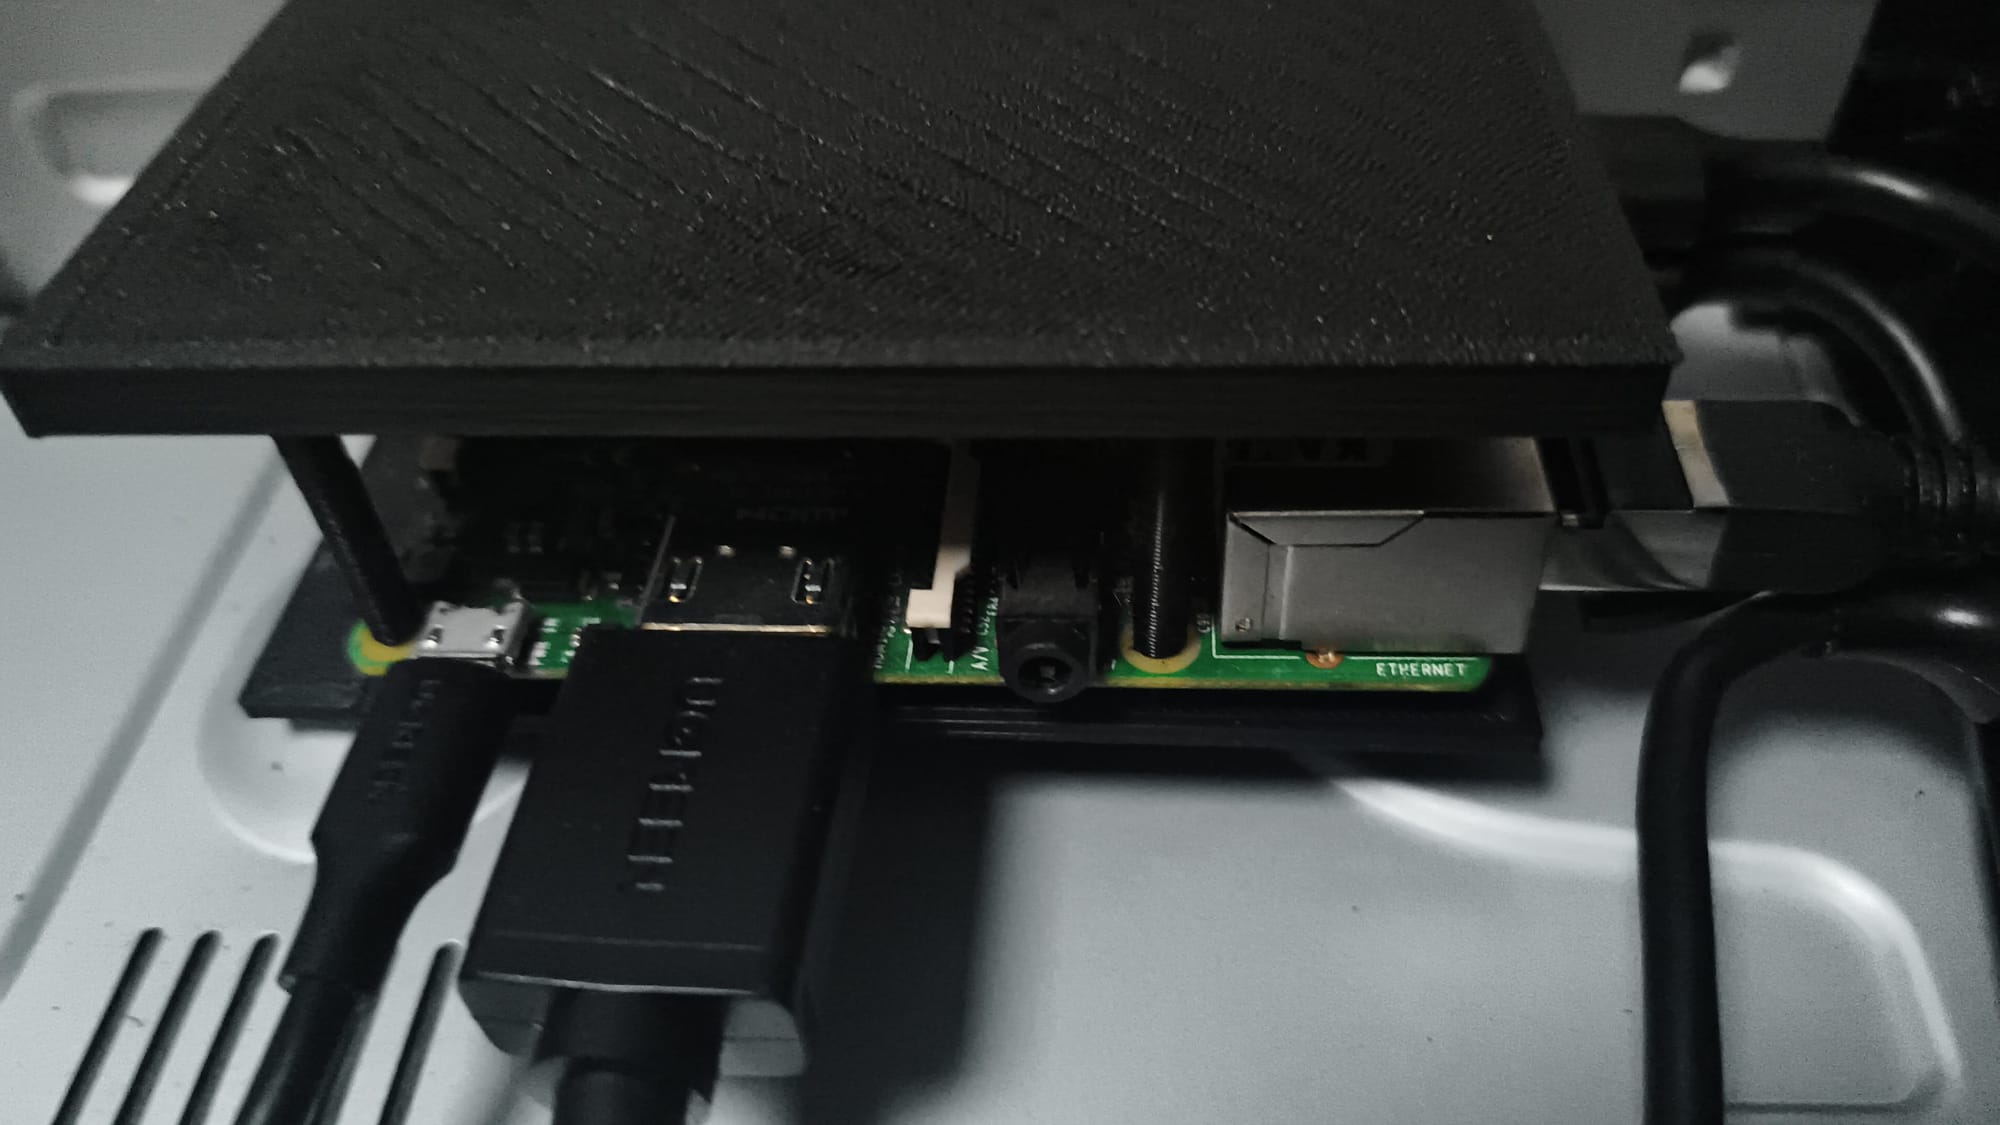
To make it all fit, I 3D-printed some custom mounts. These kept the Raspberry Pi and cables stable inside the case instead of just flying around.
Clear, Print, Assemble
Or how to make things fit
With all the guts removed and the new hardware ready, I had to design and 3D-print some mounts to make everything fit properly. This was actually the first time I ever designed models myself, so it was a pretty new but fun experience.

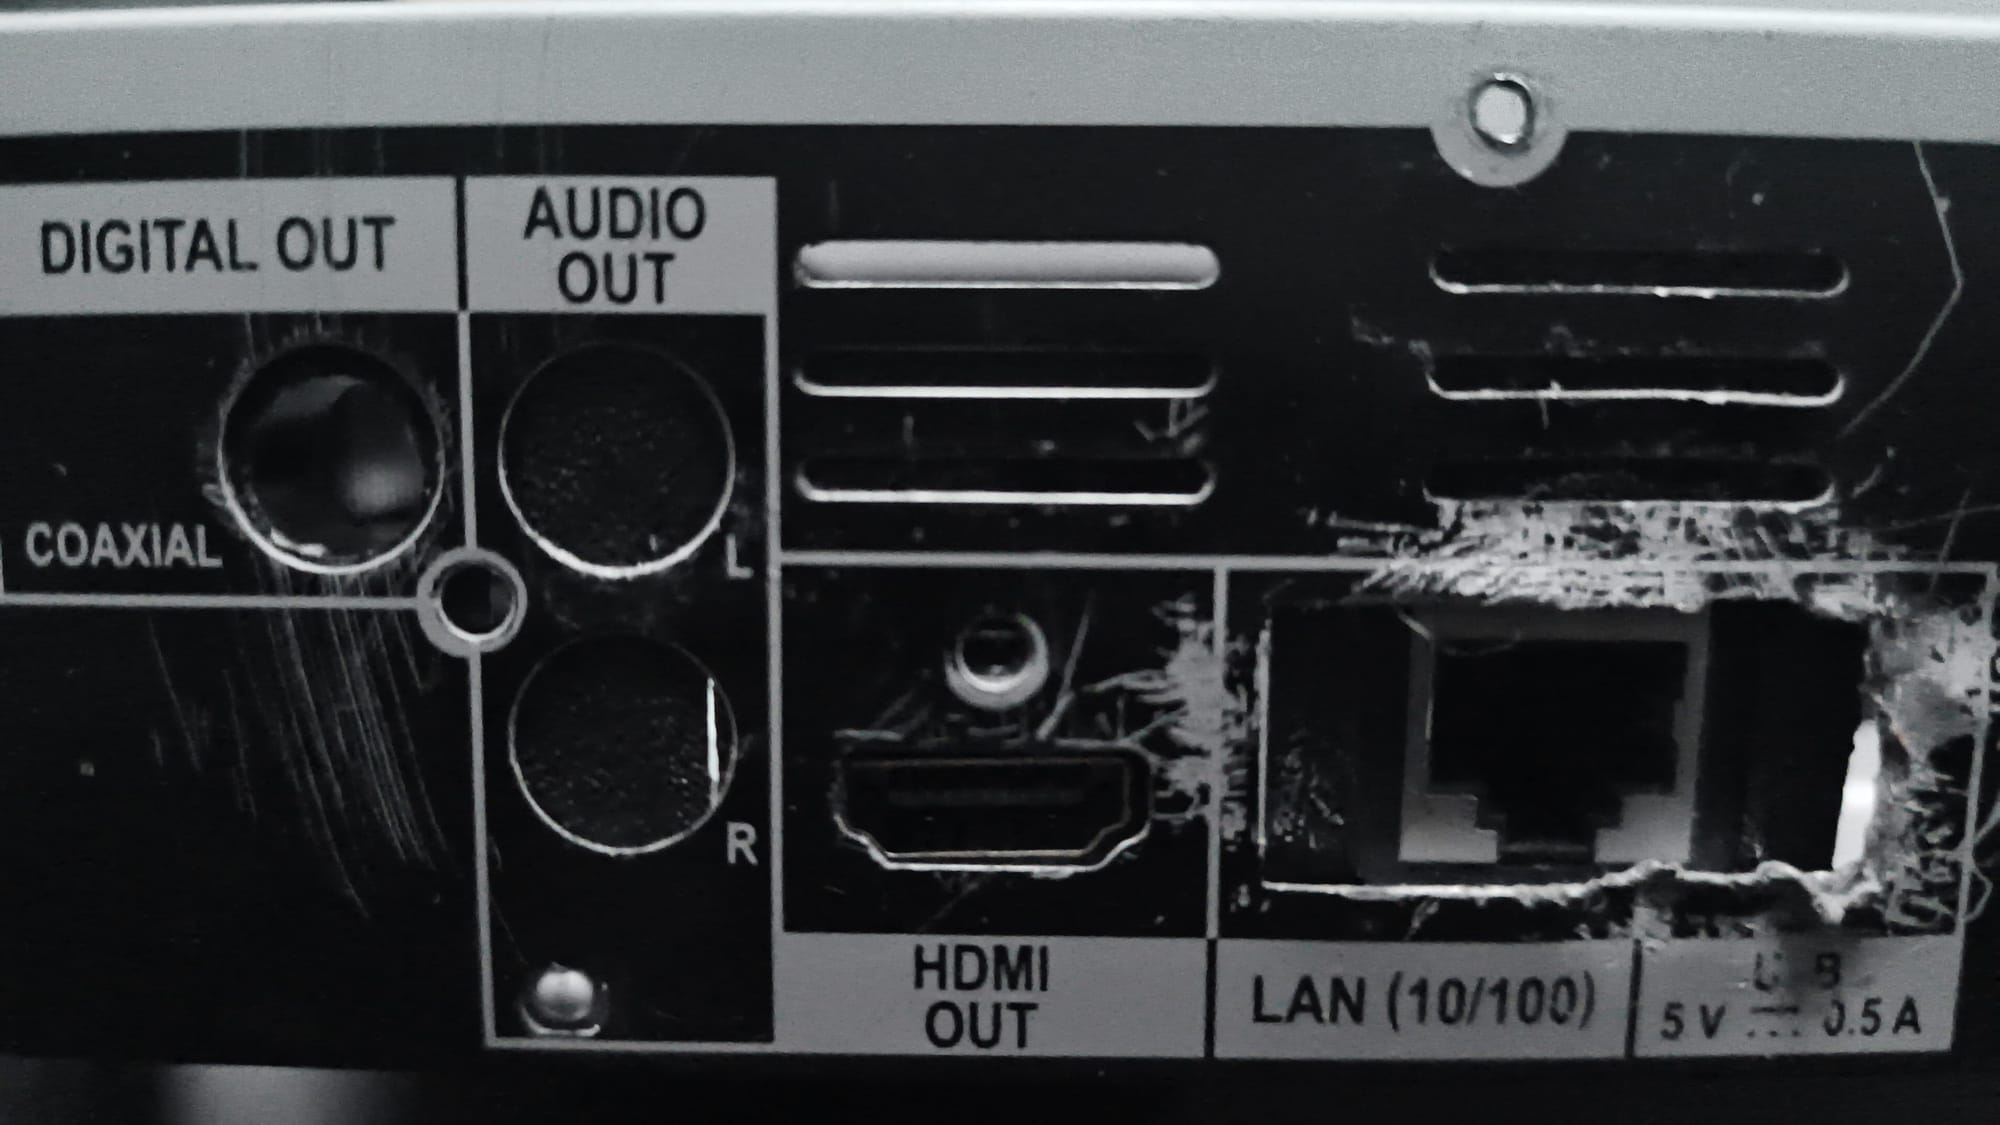

Besides the massacred by me LAN/USB port, the case was scratched before.
Once the mounts were in place, the Raspberry Pi sat neatly inside. The DVD drive didn’t quite fit the existing slot at first, so I made it fit by carefully drilling through the top part of the opening to make it bigger. All the cables reached the original panel openings without any issues. Zip ties keep them from wiggling around, so nothing shifts when I plug in HDMI or Ethernet. The 3D-printed supports keep everything secure, so nothing moves around, and the case is now ready.
Now to make it a fully working media box:
LibreELEC
And some media magic
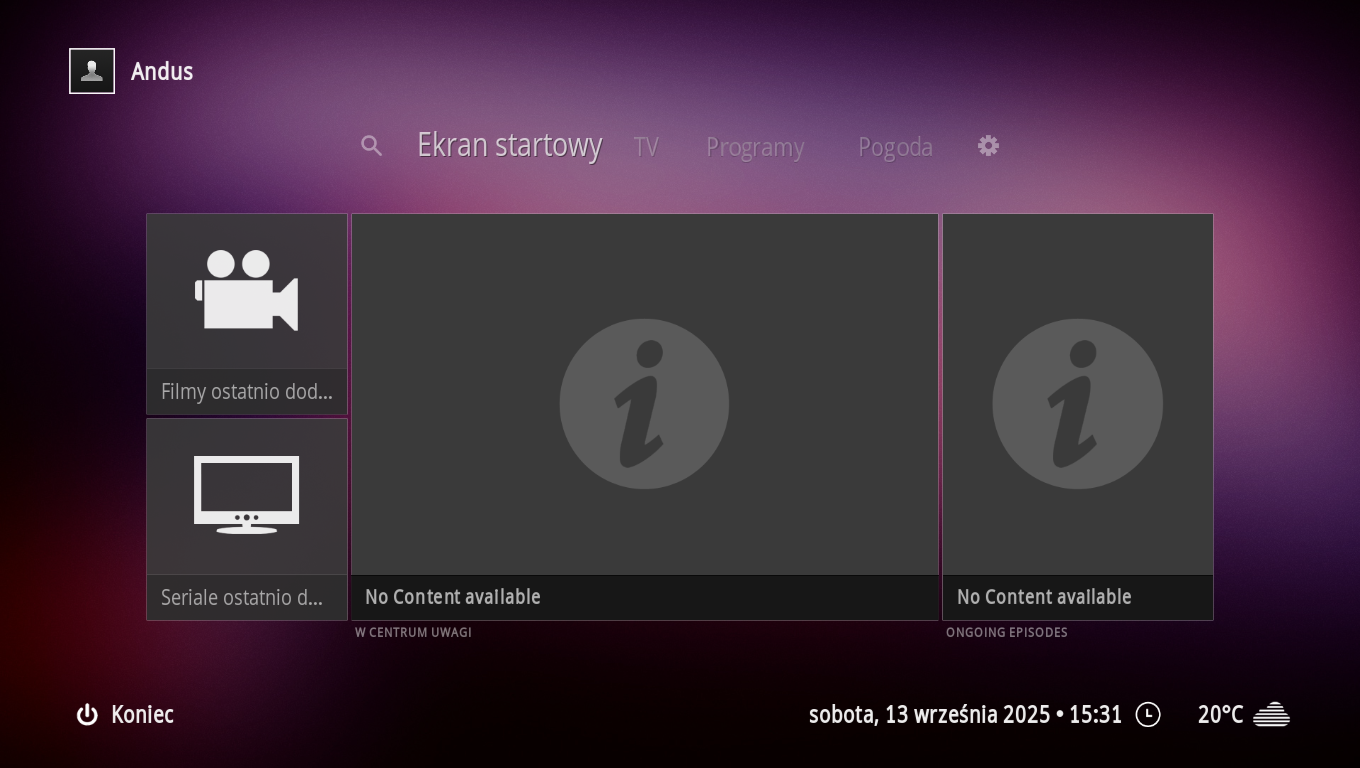
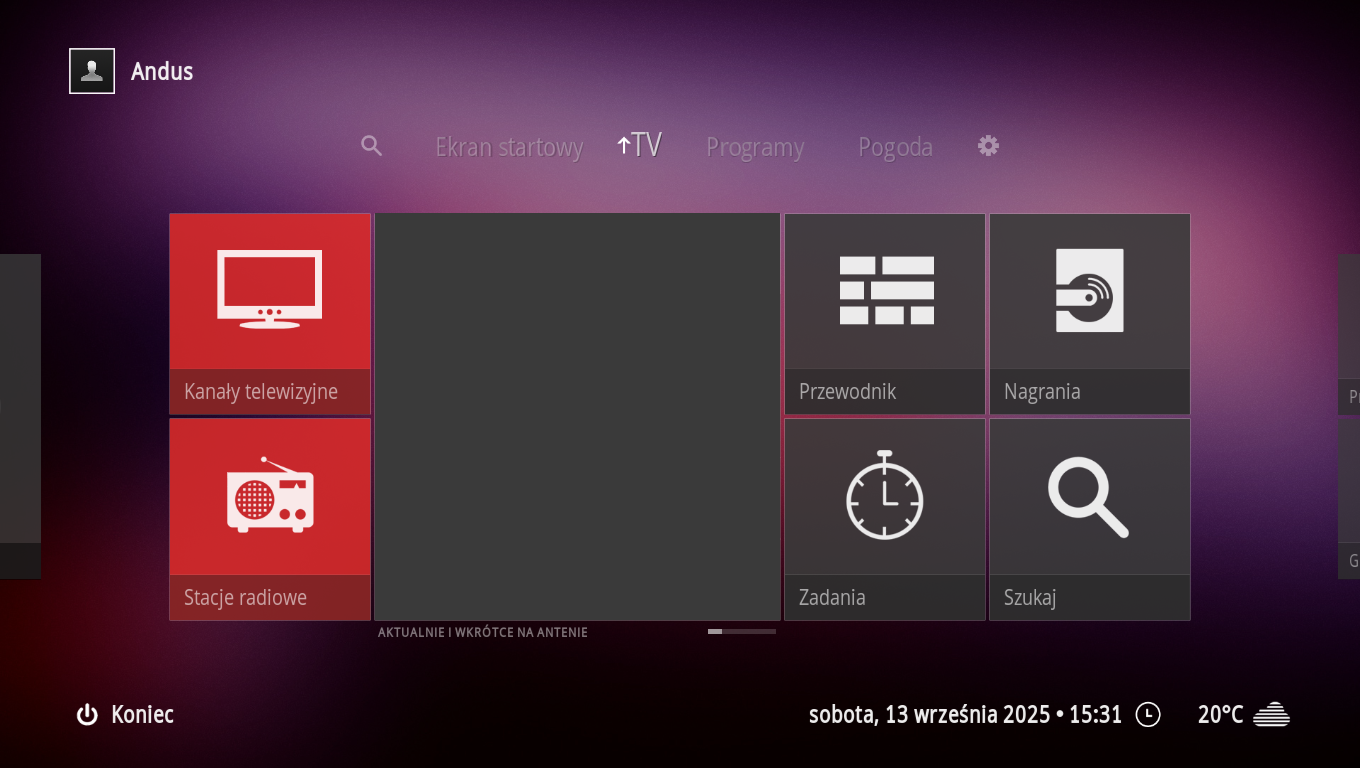
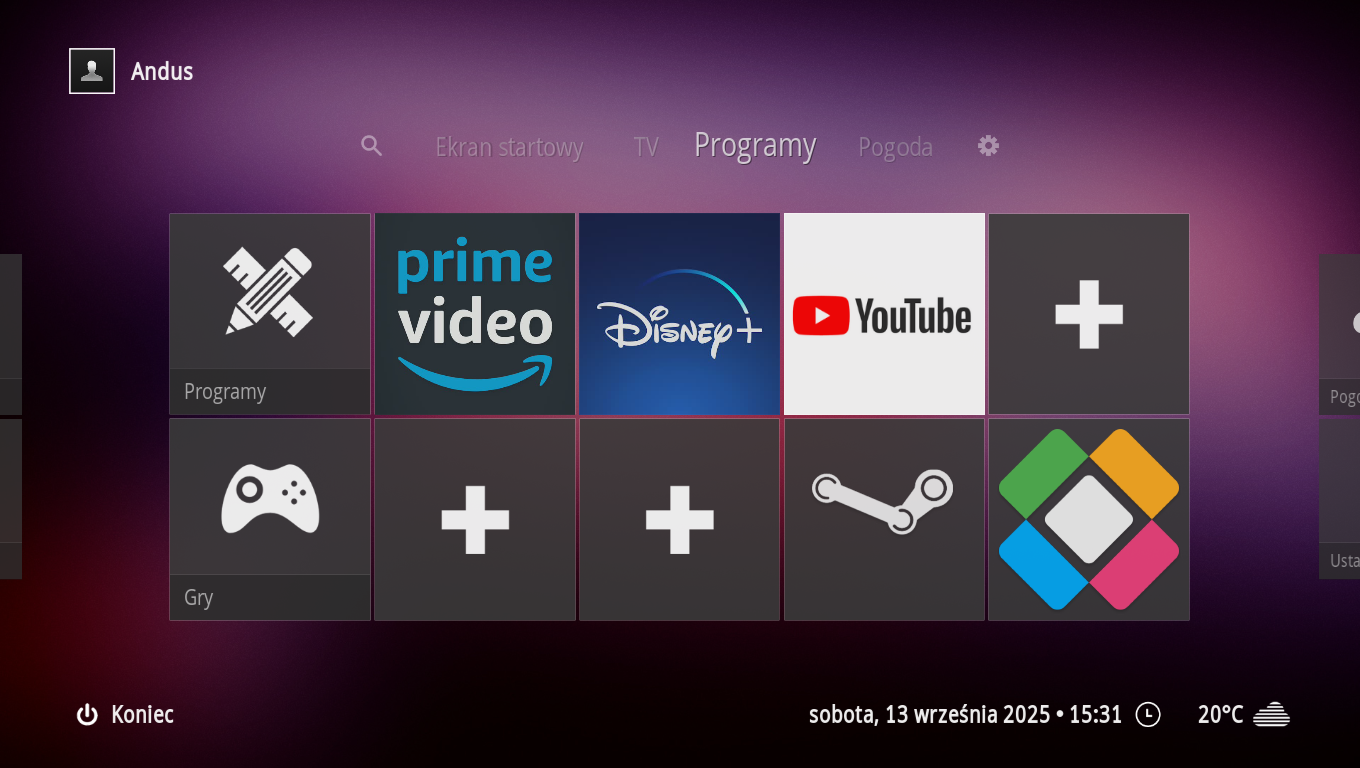
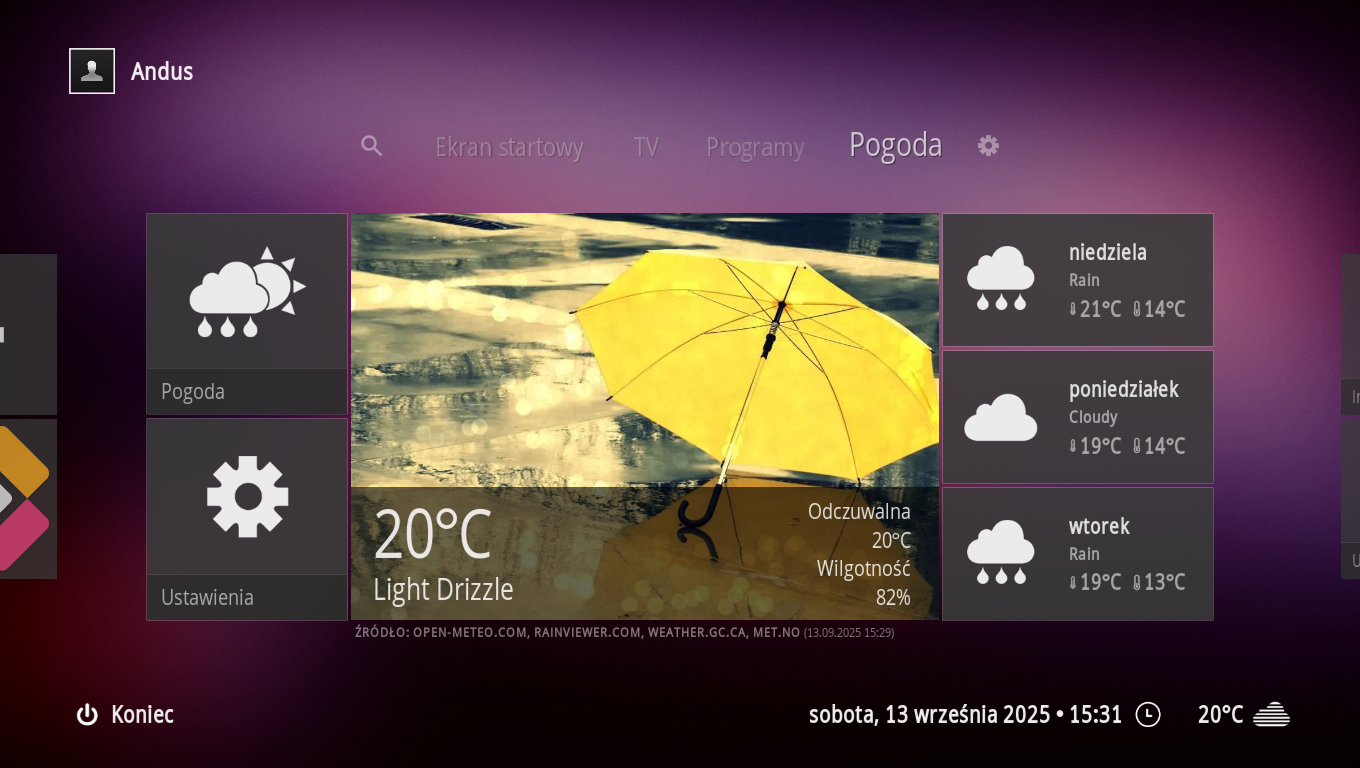
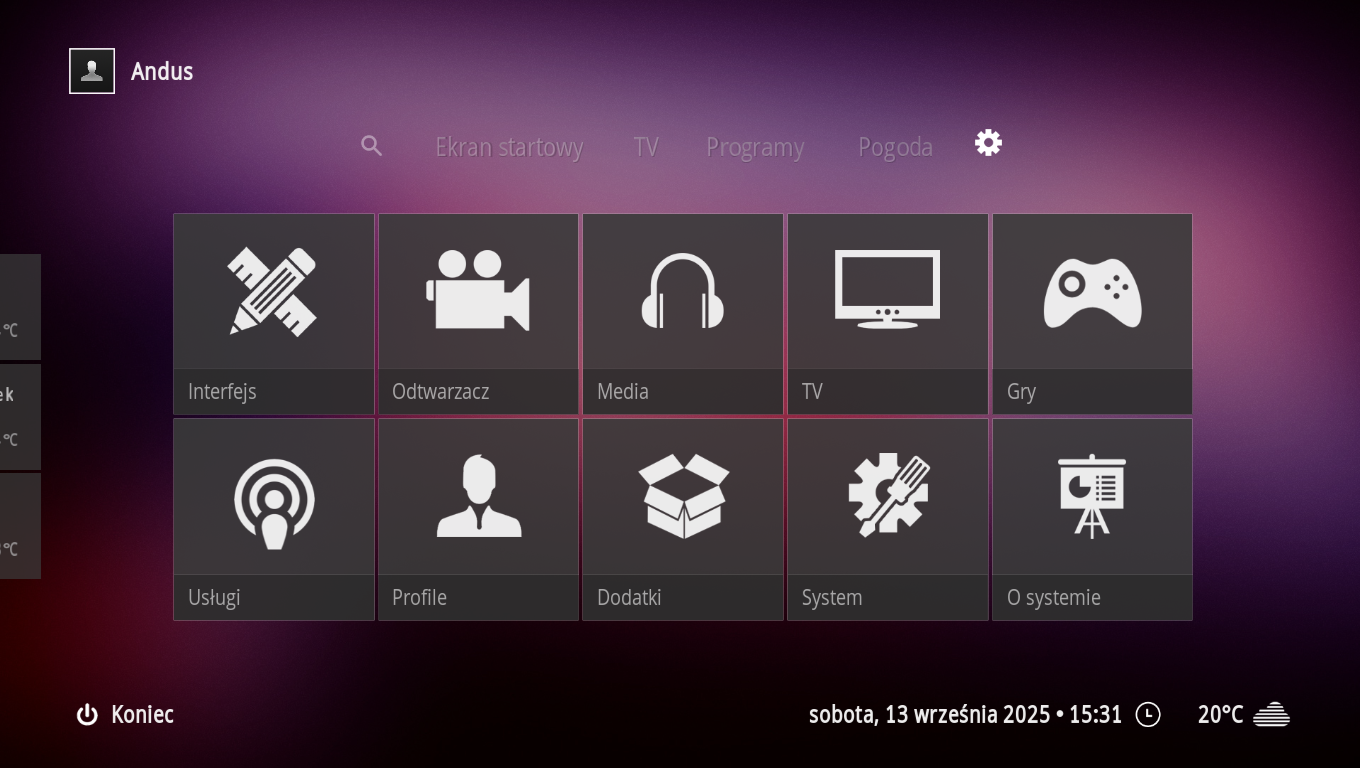
Screenshots of LibreELEC with Xperience360 skin applied
Once everything was assembled, I installed LibreELEC (An OS made specifically to run Kodi Media Center) on the Raspberry Pi. It's controlled by either Kore (Kodi's official remote app) on my phone, or a small bluetooth keyboard in case PioneerPi would ever disconnect from the Wi-Fi. I then set up the Xperience1080 skin and added a few popular streaming add-ons, along with one for my TV Provider’s Live TV. Now, PioneerPi can stream media from most popular services, watch Live TV, play some retro games, or just act as a tinkering platform. And the best part? The DVD drive works, so I’ve got a real "hybrid" system - part old-school disc player, part modern media box!
Old Stuff, New Life
What I learned and why it’s worth trying
From the outside, it still looks like a regular Pioneer player, but inside, it’s now a fully functional Raspberry Pi media box! This project was a lot of fun for me and taught me a lot, from designing my first 3D-printed mounts to figuring out how to fit everything neatly inside the case. I'm really proud of myself! It’s a reminder that even old things can be recycled into something useful and fun. Hopefully, it inspires others to try their own tinkering projects and see what they can create!